January 5, 12, 19 and 20, 2018
Sally - “Introduction to Weaving”
Maurine's
Fiber
Friends
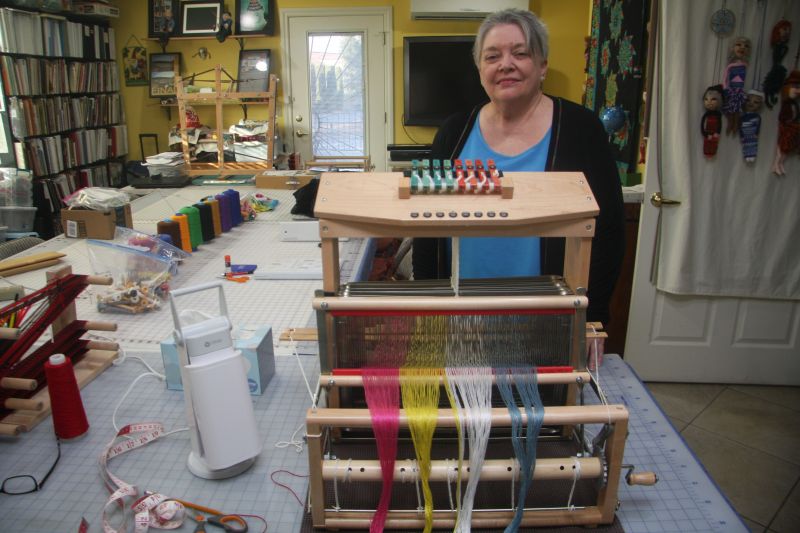
Sally Koebke is a member of our Las Vegas Fiber Arts Guild and had been weaving for 8 years. She learned to warp her loom from front to back but wasn’t very happy threading her loom that way. We were having a Guild meeting at my home and she said that she would like to take my “Introduction to Weaving” class.
She decided that she would come to my home every Friday in January from
1 P.M. to 5 P.M. However we had a study group meeting at my home on
Saturday, January 20th so she was able to finish her sampler then.
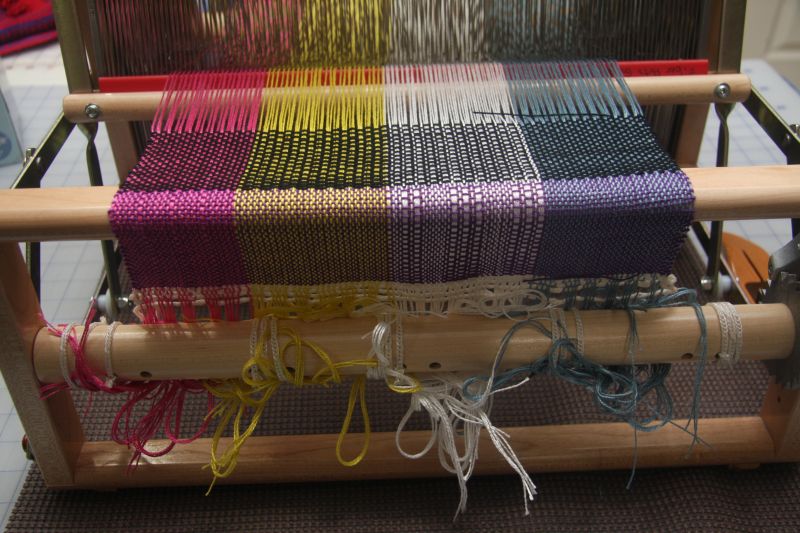
I had several cones of yarn on my table and told her to pick 4 colors that she would use for her warp. Each warp color would be threaded to a different pattern and by the time her sampler would be finished she will have 60 different woven patterns.
I gave her a loose leaf notebook with all of the patterns in it. Once she decided what yarns she would use for her warp, I taught her how to make a butterfly out of yarn. The yarn is wrapped around your fingers in a figure eight shape and then tied in the center and glued into the notebook next to each warp pattern. I have her do the same technique with the yarns that she will use for her weft – the yarn that she will be weaving with. The purpose of this is for use after the class is over. If she wants to weave a certain pattern in the future she can check her warp color and then her weft color and since she would have the threading and the treadling (pressing the levers on the loom in a certain order to weave the pattern) she will be able to duplicate the pattern.
The pictures below show step-by-step the process of winding her warp on my warping board, tying the cross, taking the warp off the board, putting the lease sticks into the cross, winding the warp on the loom, threading it and weaving her sampler.
Sally did a fantastic job, her selvedges/edges were perfect, and her weaving was wonderful. I was very proud of her.
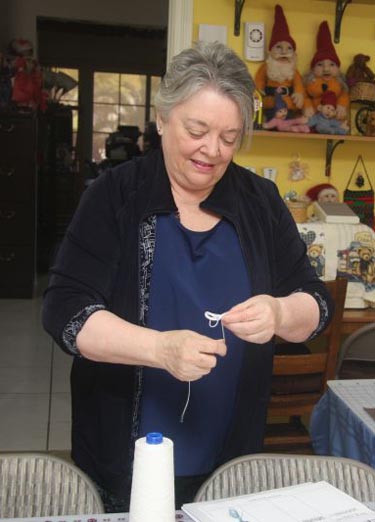
Sally is winding her butterfly.
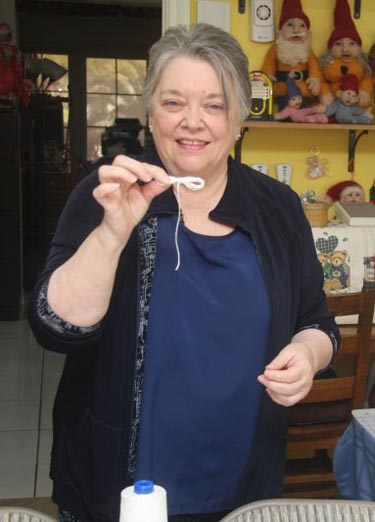
Looks great.
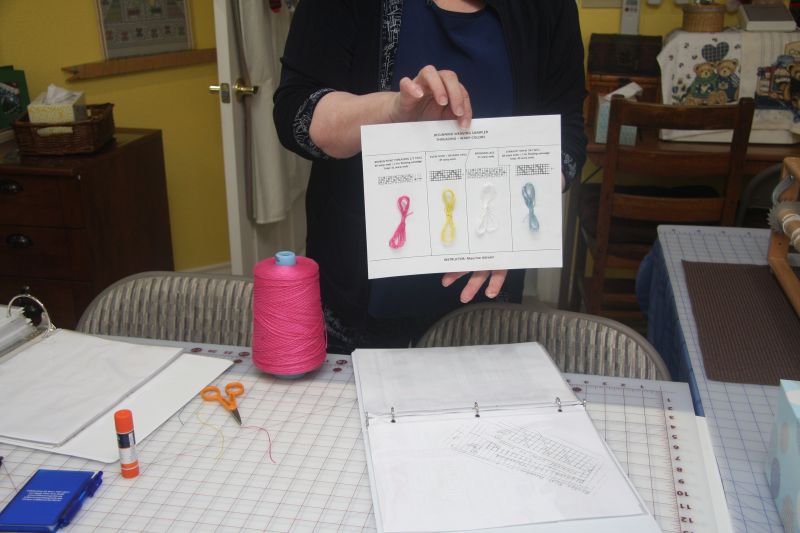
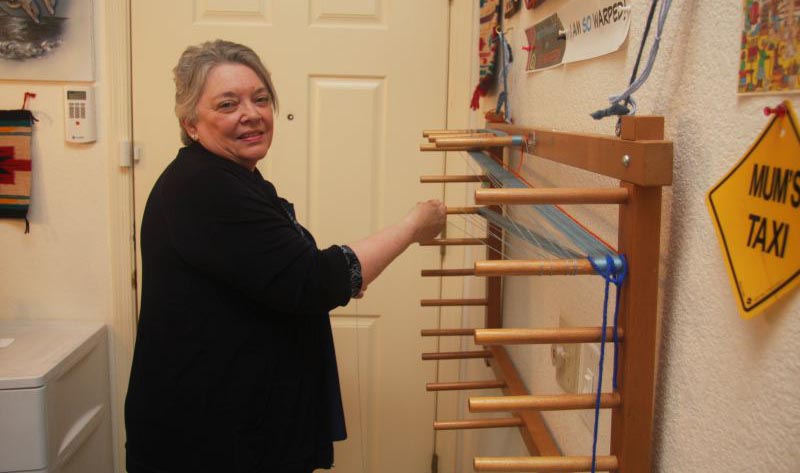
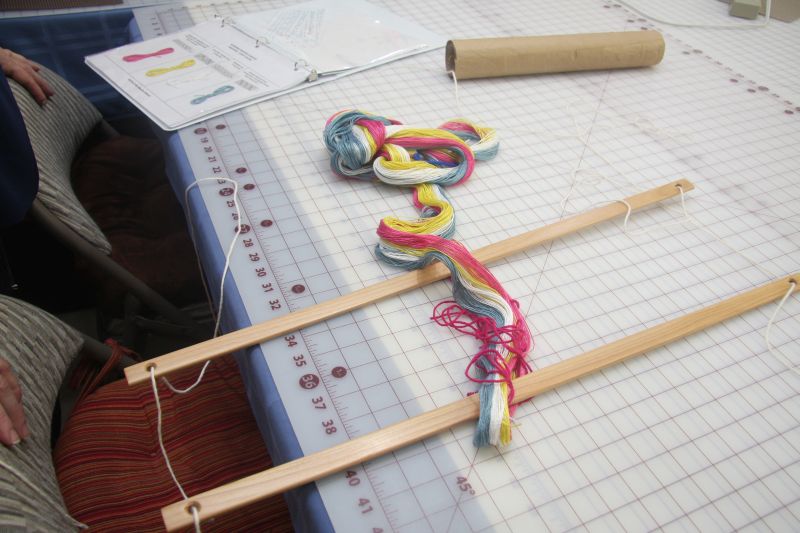
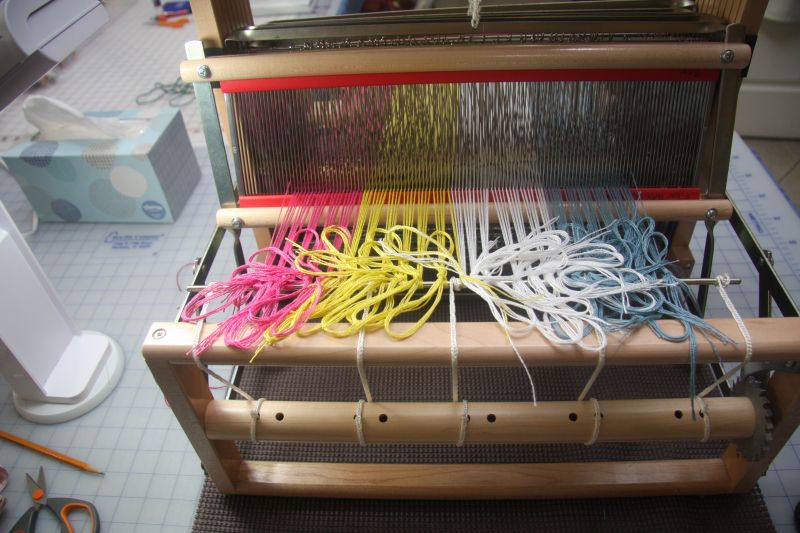
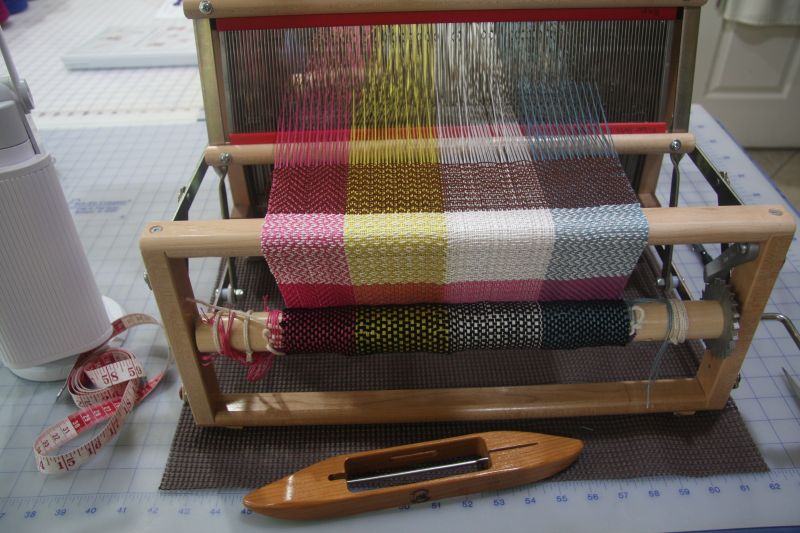
These are the colors that Sally will use for her warp. Each color will be threaded according to a different pattern.
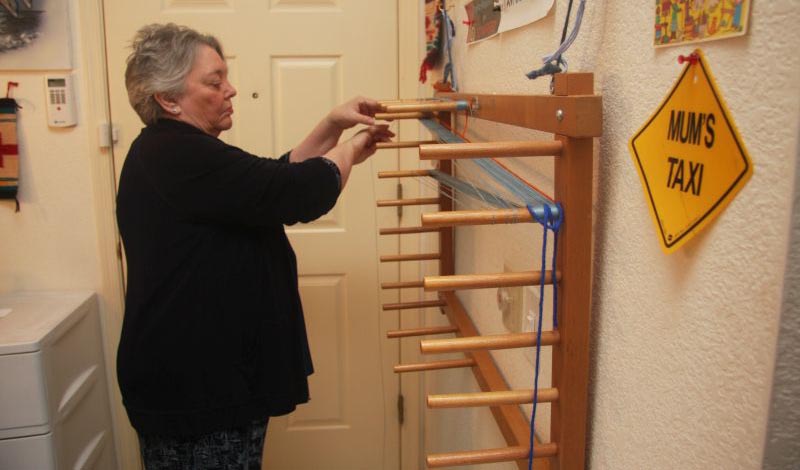
Winding the first color of her 2 and a half yard warp. The thick yarn, royal blue, is used for counting every 20 warps.
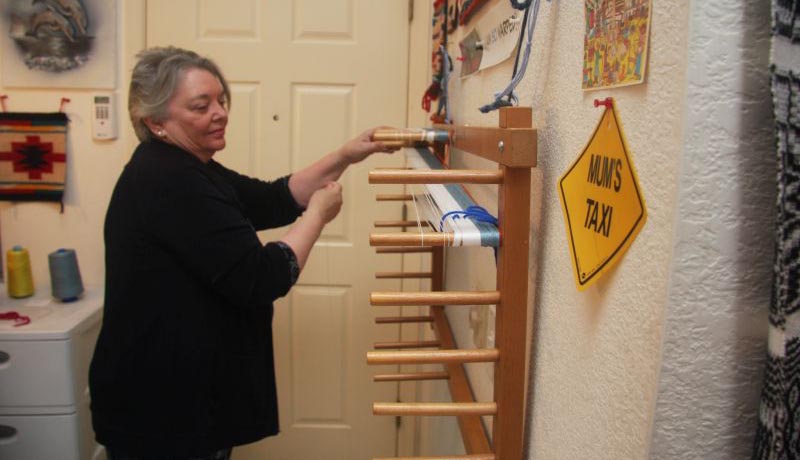
Warping has a rhythm.
Color 2 is added.
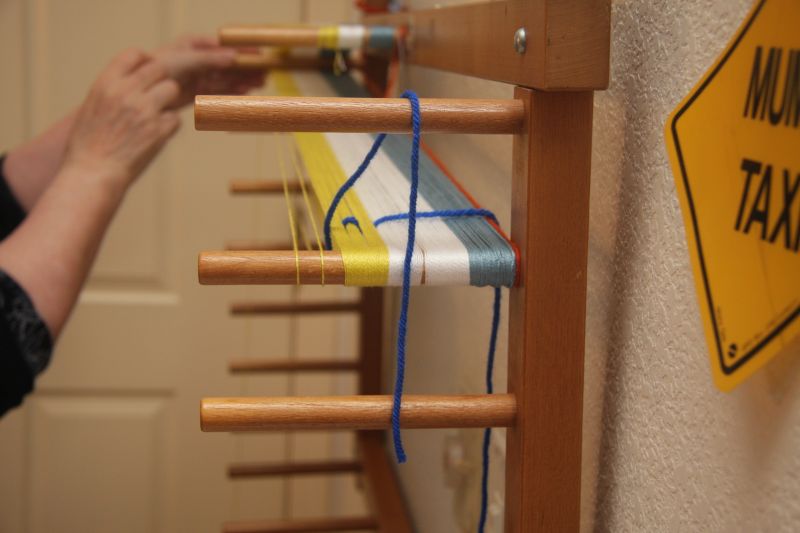
Color 3 is added.
Color 4 is added.
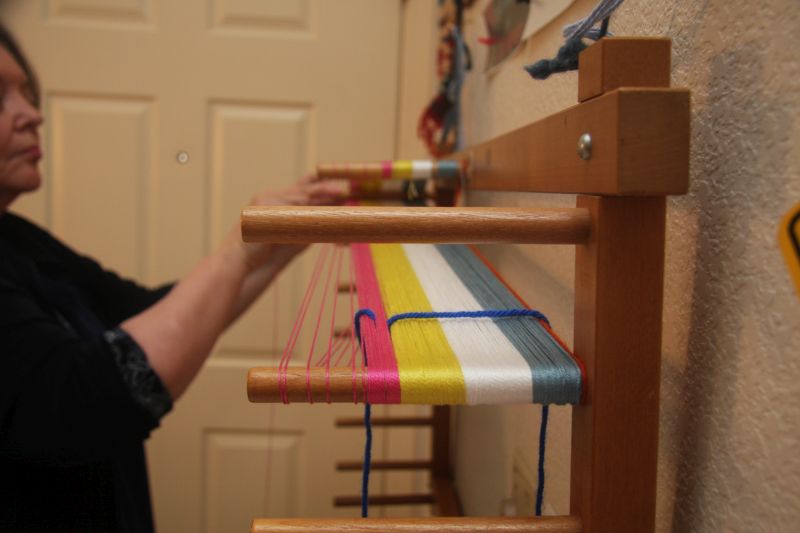
Sally has tied the cross on her warp and the 2 yards below the cross.
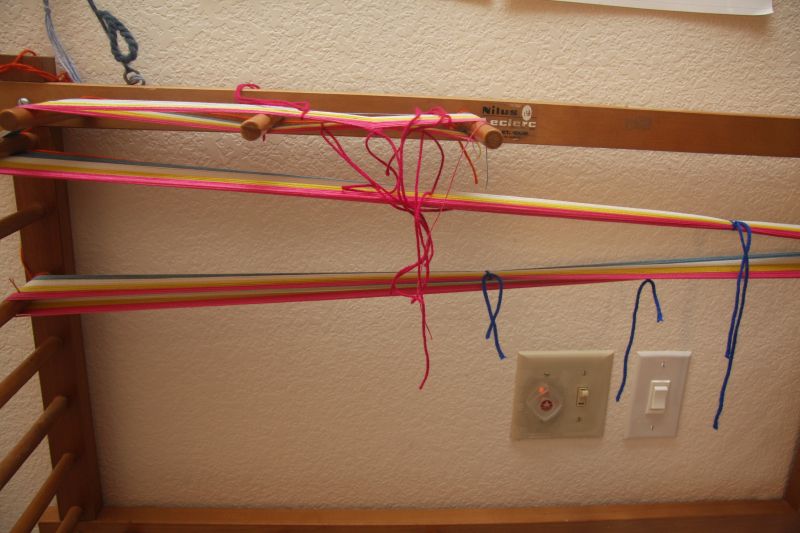
A perfect cross is so important. It is used to correctly thread your loom.
The warp is taken off the warping board by making a chain and then lease sticks are put through the cross before putting it onto the back of the loom.

Click here to add text.
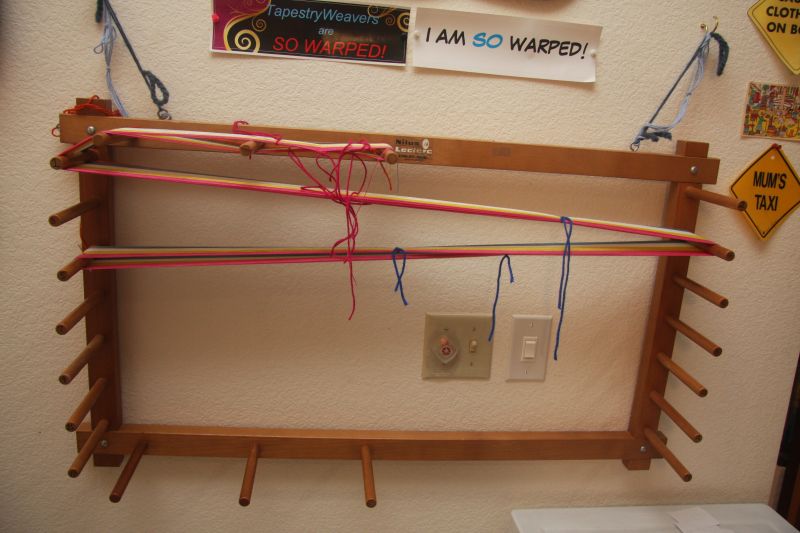
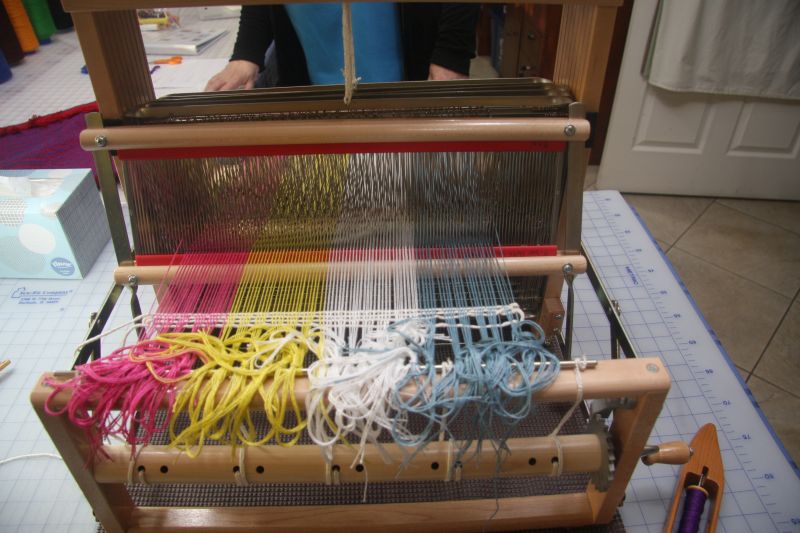
The raddle is used to separate the warp so it can be wound onto the back of the loom nice and even.
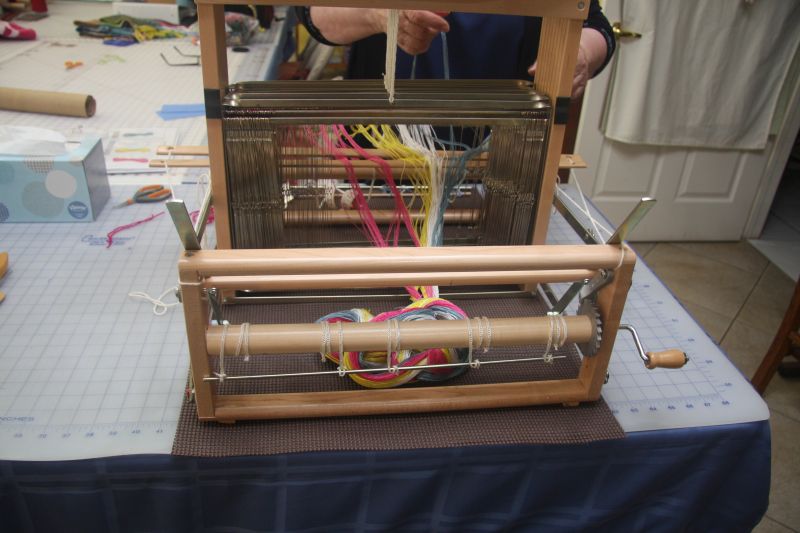
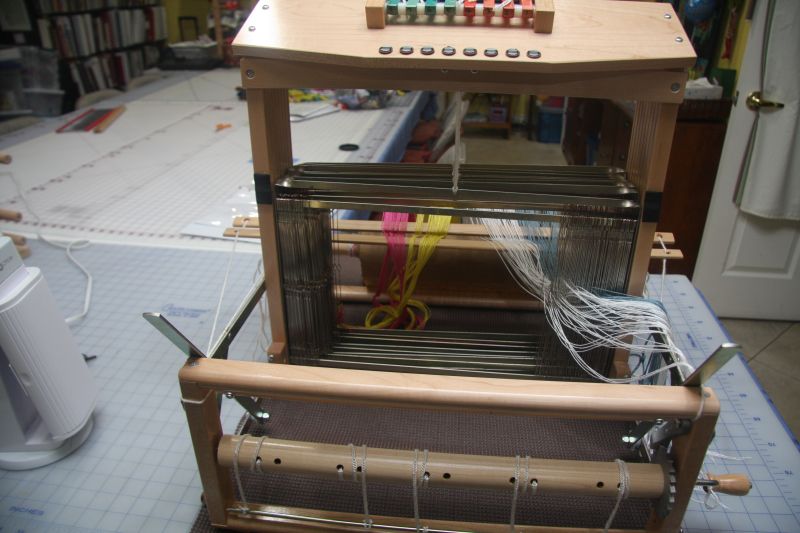
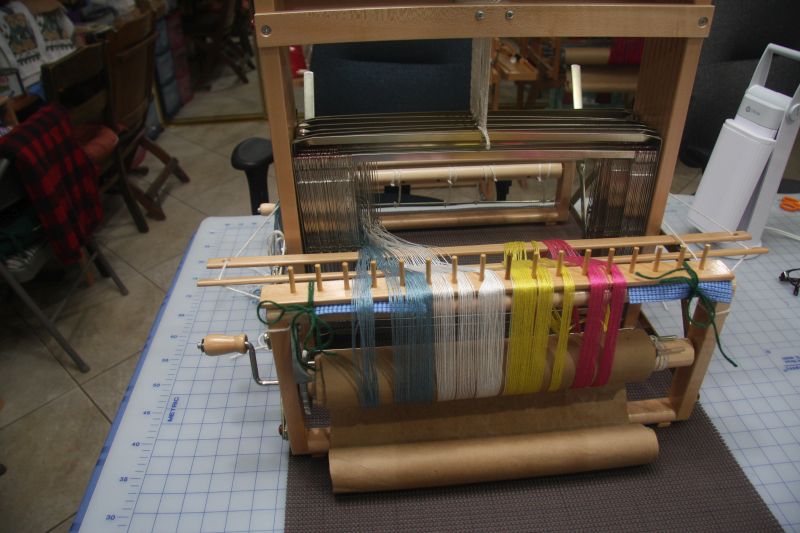
Front view of the loom.
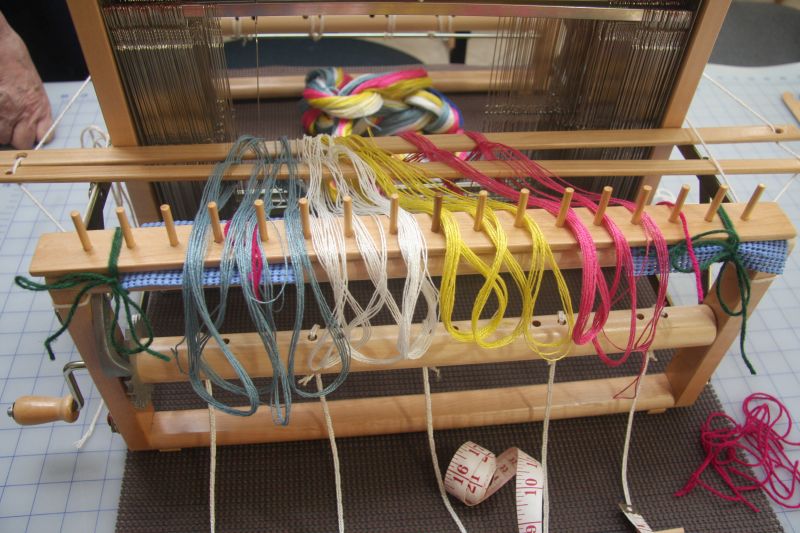
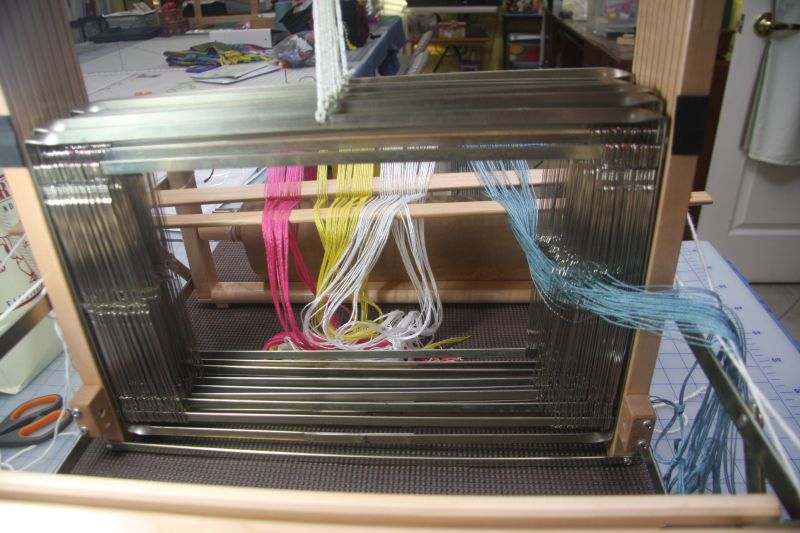
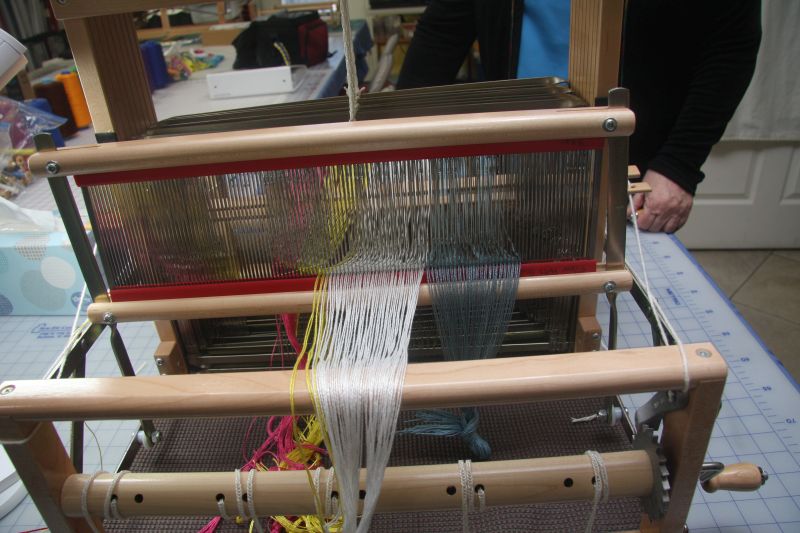
Back view - The warp is in the raddle and in the lease sticks which separates the warp so you can easily thread the loom.
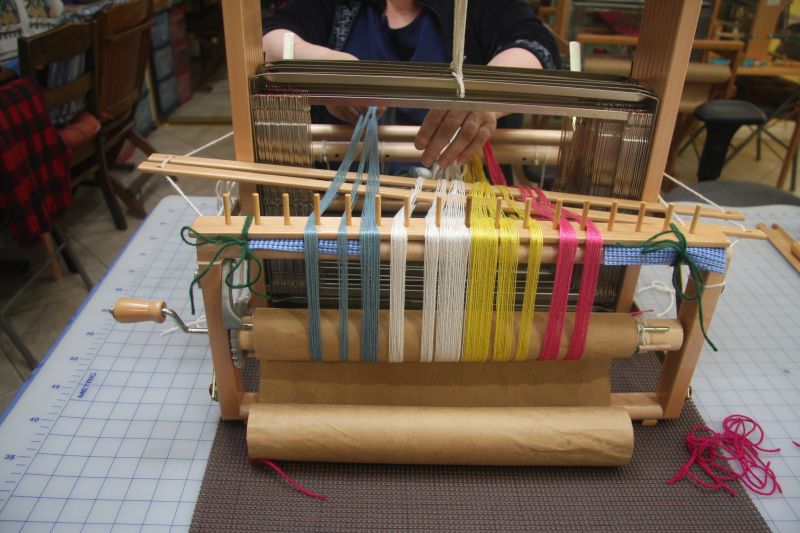
The warp is wound onto the back of the loom using craft paper to separate the threads.
Sally is making sure her warp is nice and even on the front so when it's wound onto the back of the loom it is very smooth and even.
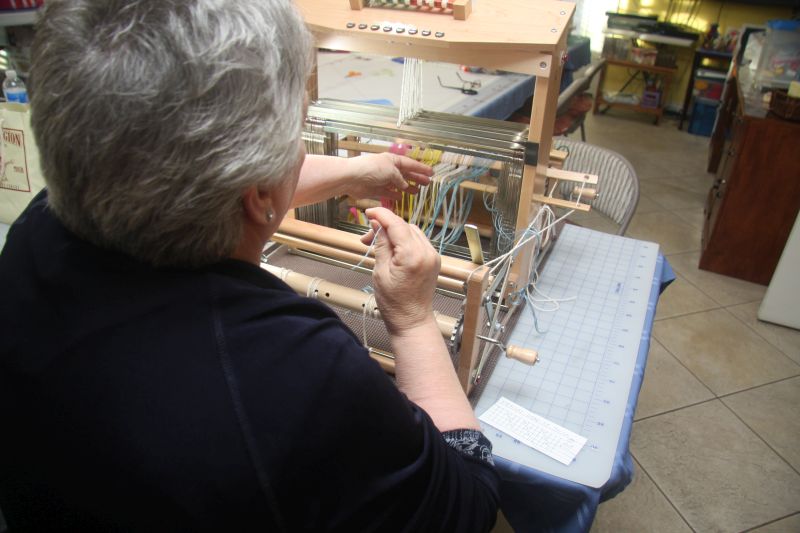
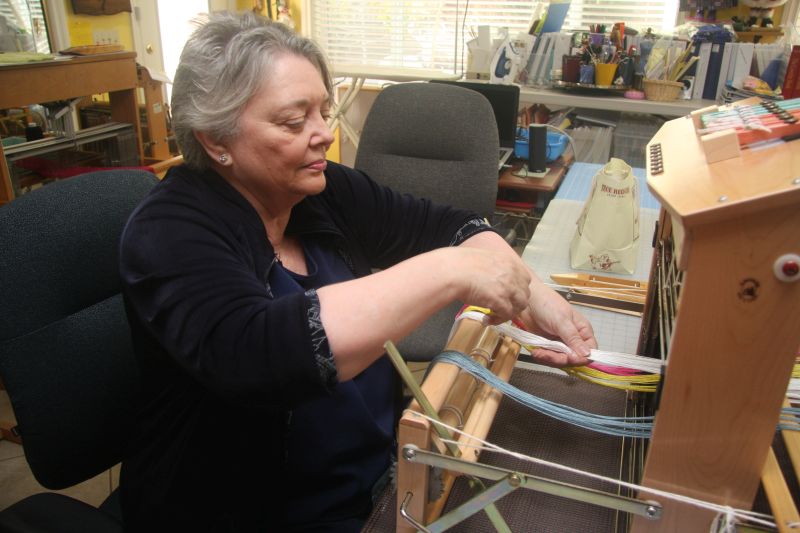
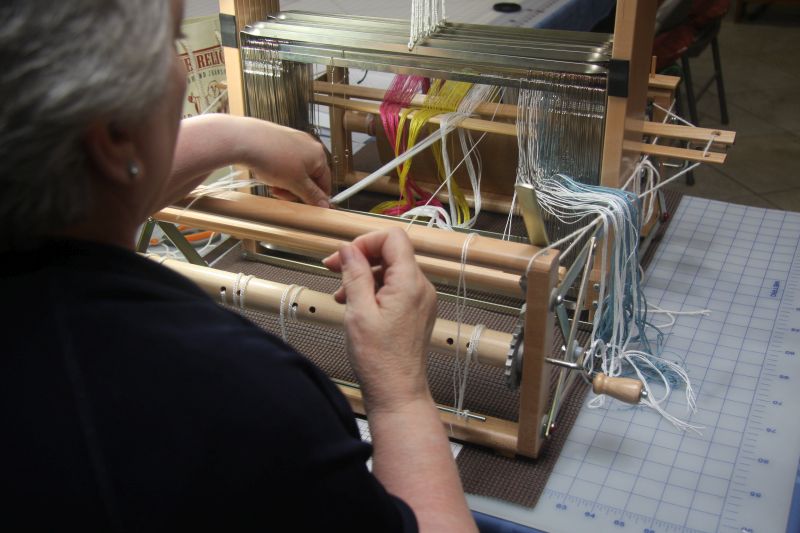
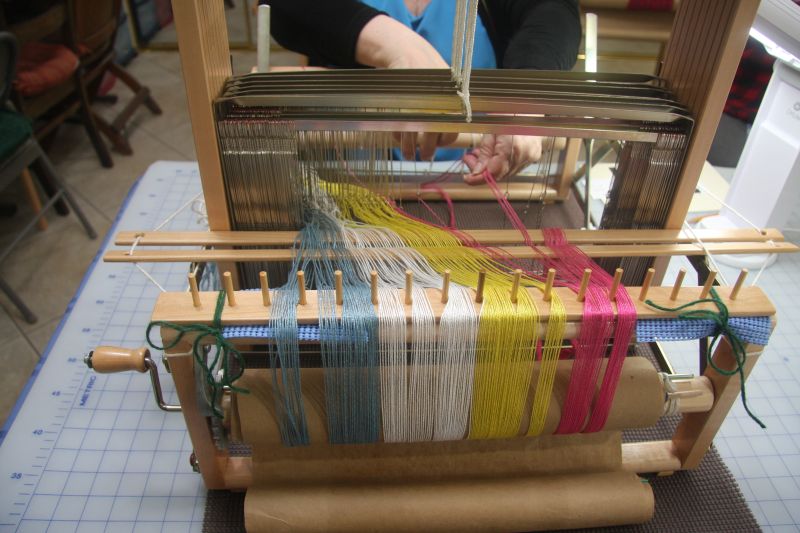
Sally is beginning to thread her loom through the heddles according to the patterns I gave her.
The blue warp is threaded.
Sally is threading the white warp.
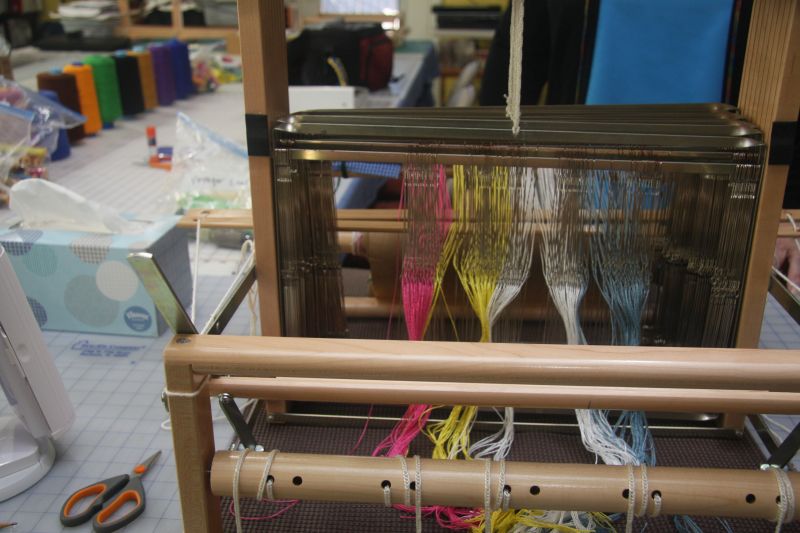
Back view of loom. You can see the threaded warp on the left.
All the above was completed on Day 1 of her class.
Back view of Day 1.
Sally is threading her last warp - Color #4 - Back view.
Front view showing her threading the heddles for Color #4.
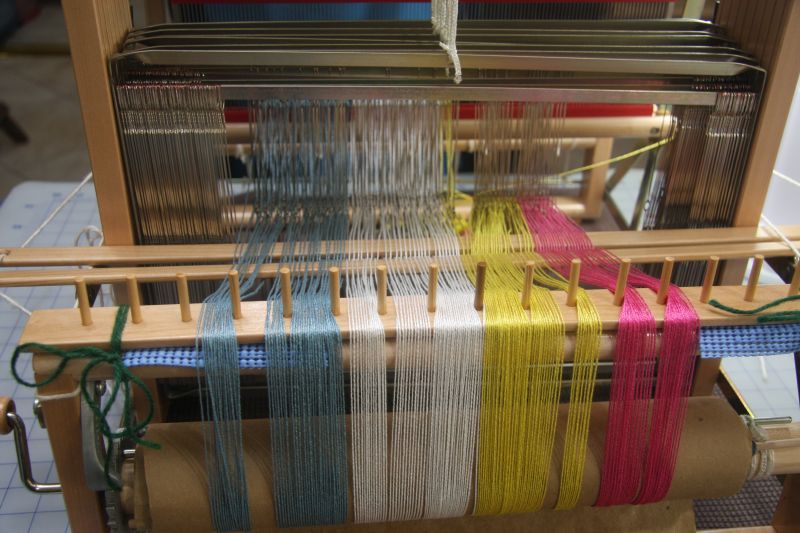
All the warps are threaded.
A happy student.
The reed determines how many threads per inch there will be. The reed is also used as a beater to keep the woven warp nice and even.
The back of the loom looks wonderful.
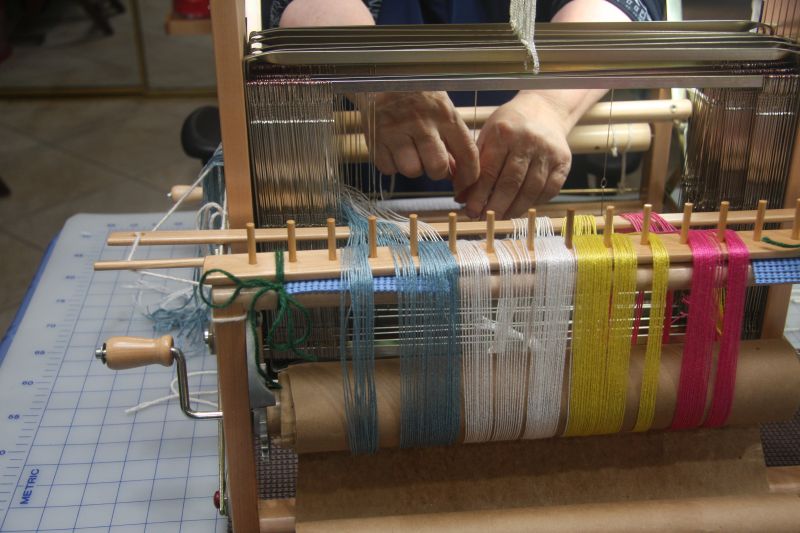
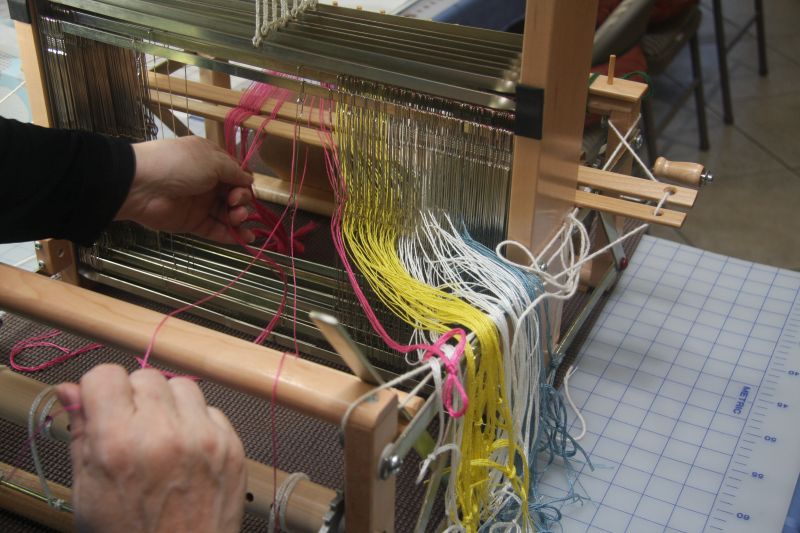
The front of the loom shows all of the warp through the reed and ready to be tied onto the front of the loom.

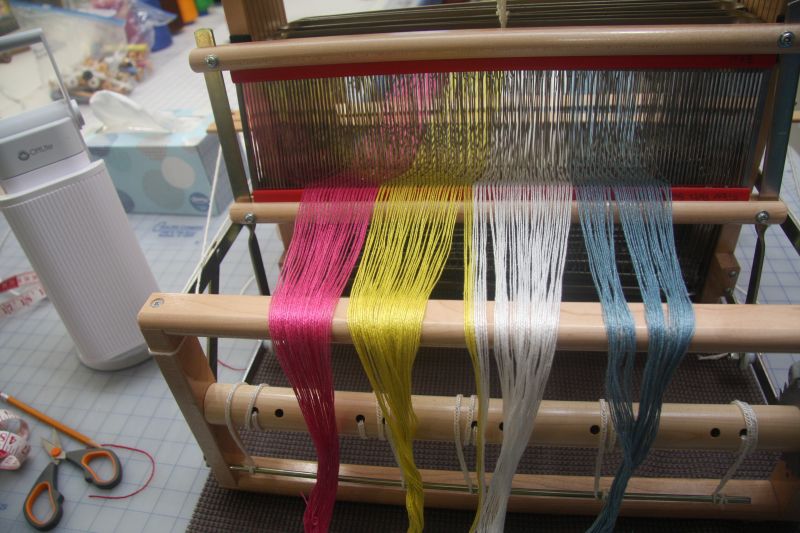
The warp is tied onto the front of the loom with a double half hitch knot which is adjustable.
Next we tie a bow over each half hitch knot.
Sally is gluing her butterfly onto her instructions so she will know what pattern she used for that color.
Waste yarn is woven first to close any openings in the warp.
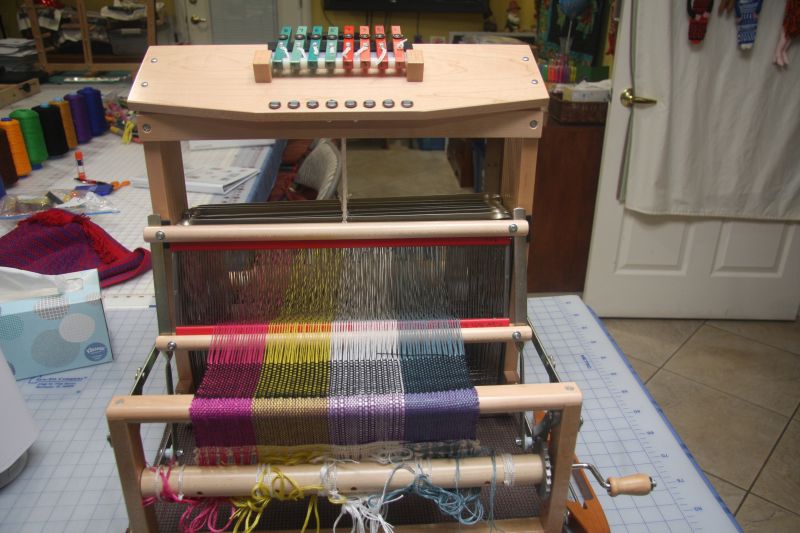
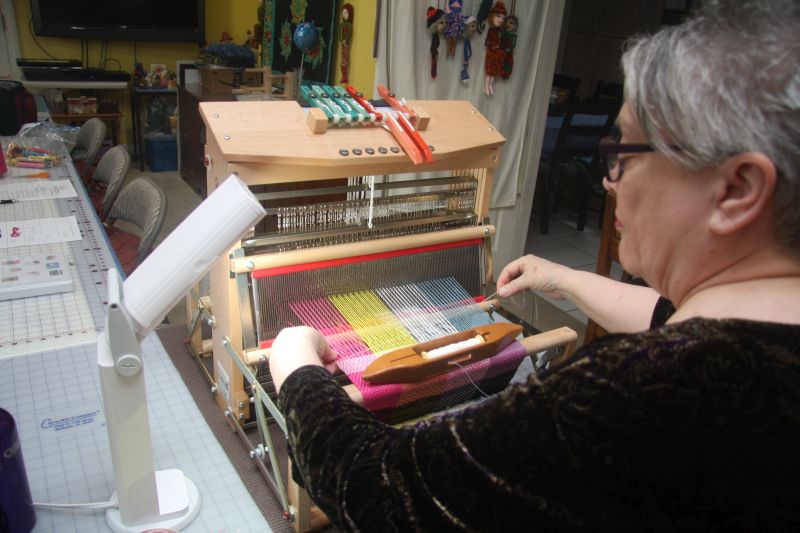
Patterns 1 and 2 are woven.
Close-up of her first two woven patterns.
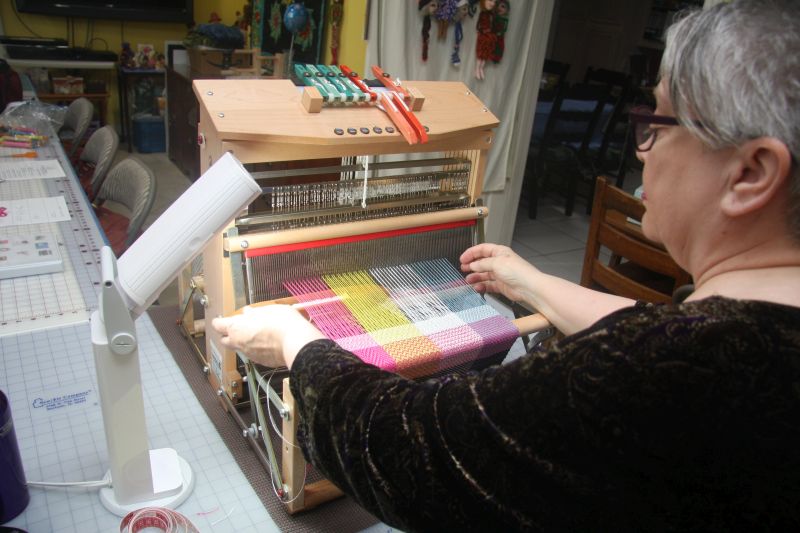
The shuttle goes through the shed.
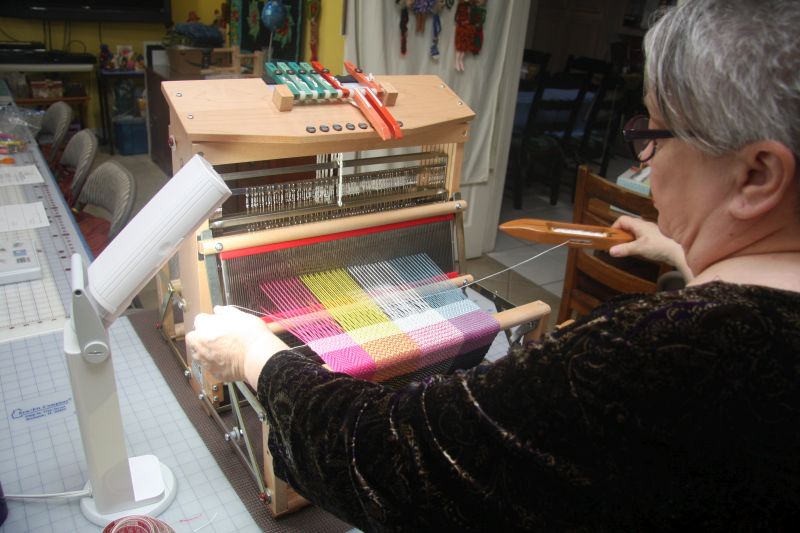
And is pulled out.
And the weft is straighted out.
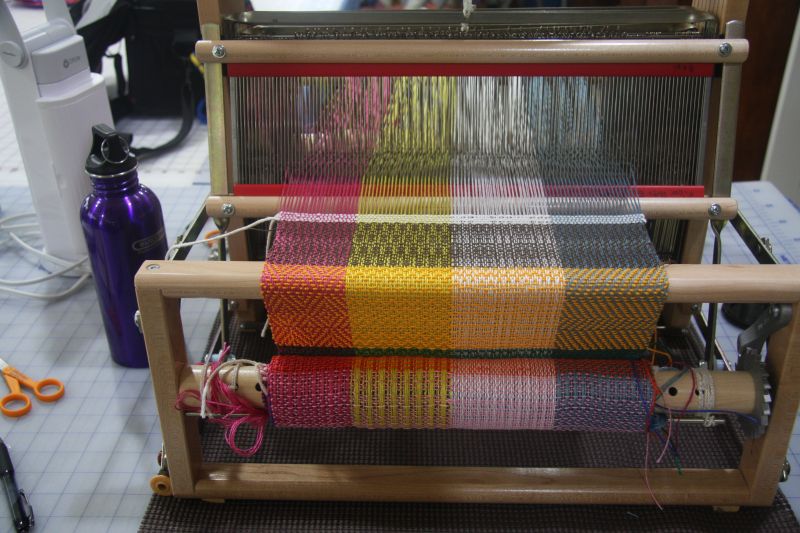
Progress is made.
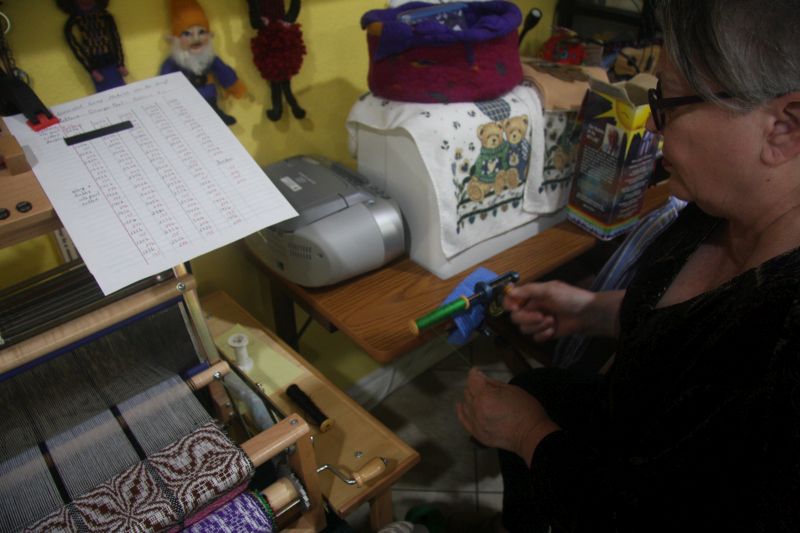
Winding more yarn onto the bobbin which goes into the shuttle for the weft.
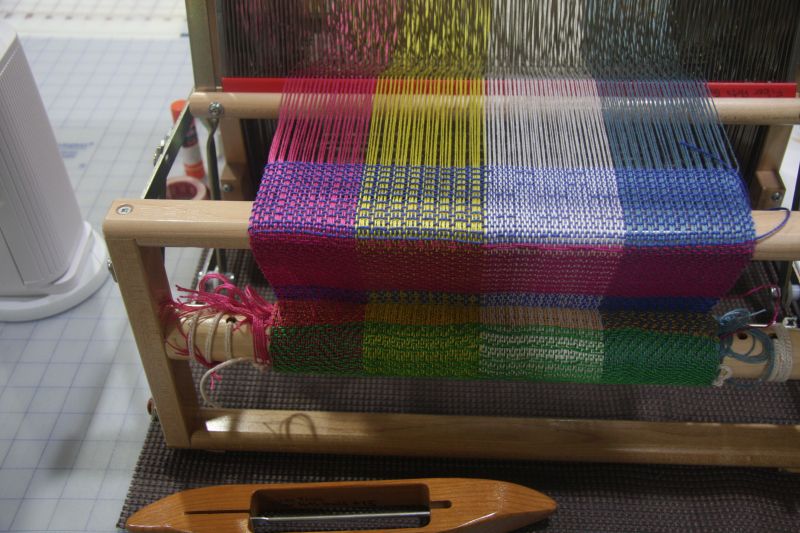
More patterns are woven.
Last pattern is completed and white waste yarn is woven in to keep the end warps in place when washing the sampler.
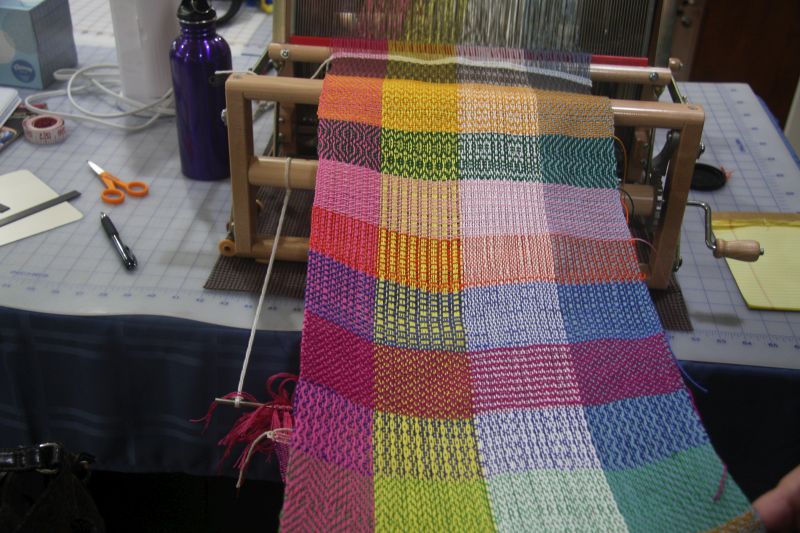
The sampler is starting to come off the loom.
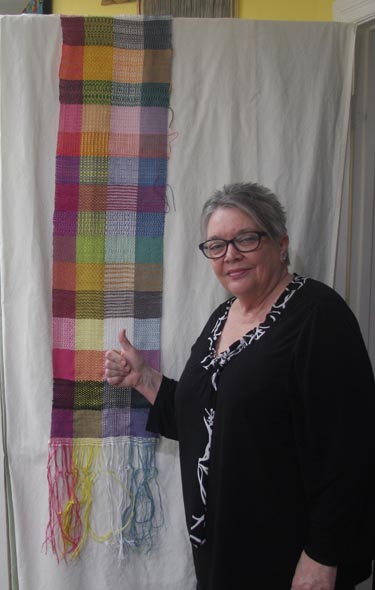
Sally and her finished sampler - Side 1.
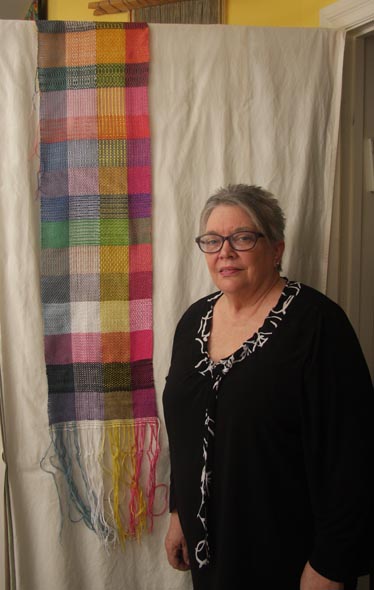
Sally and her finished sampler - Side 2.
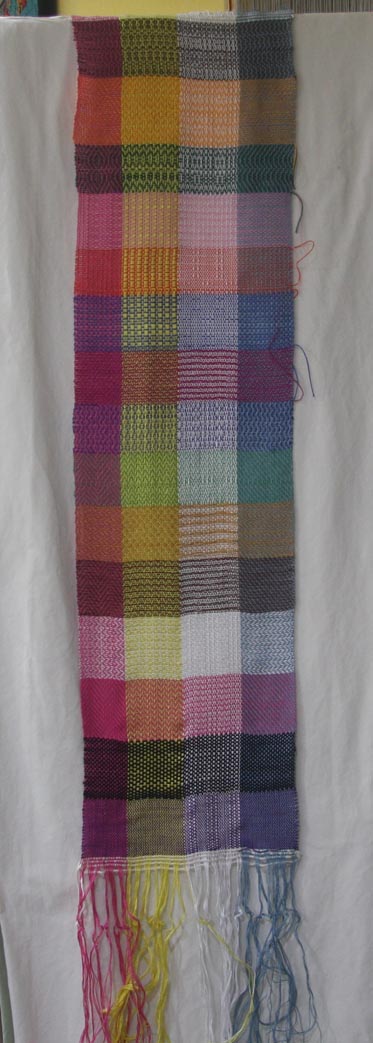
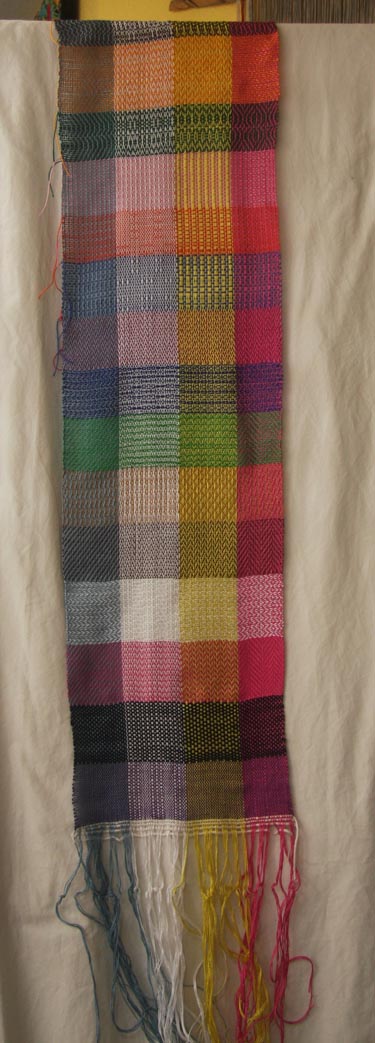
Side 2 of the sampler.
Side 1 of the sampler.